

In order to deliver great services to our ADU clients we have developed a design process that we use to direct each project. This process has been refined over the past 10 years designing over 60 ADU projects across Washington, Oregon, and California. We want you to know what to expect when you choose to work with us and to know that by going through our design phases you can have confidence that we will arrive at a great design solution to your problem. Plus, designing can be fun. Once you know what to expect, you can relax and enjoy the process of design and participate in the creative energy of crafting a beautiful ADU.
The Five Phases of Every Project
Design is a process of discovery, where you share your goals and ideas, we learn about your needs and your lifestyle, and together we craft a layout and design that balances all the influences into an ideal solution. If you think of it like cooking, first we need to identify and gather all of the ingredients. We then need to cut, chop, blend, and measure them to make sure they are in the right mix. We then spice them and cook them together. Finally we plate the dish, and serve it. Five steps are needed to refine everything that goes into a project. We break them down into the following phases:
Pre-design - PD
The pre-design phase is when we conduct the research needed to lay the foundation for the future design work. This includes zoning and code research at the city offices, a thorough analysis of your property, coordinating a survey of your property, and meeting with you to create the program for the project.
A program is a spreadsheet of all the spaces desired for the ADU as well as any other features or items that need to be considered in the design. We want to identify all of the rooms, rough sizes, notes on any adjacencies that are preferred, ideas on how interior spaces connect with the outdoors, and any other goals for the project. For example, a recent c;ient we worked with was building an ADU for their aging mother to move into. Although ADUs are a small home it was important that we designed space in the living room to fit her baby grand piano. It is vital to get information or requests like this documented up front so we can meet your expectations. As we develop the floor plans and layout of your project we want to make sure the design work takes your ideas and specific needs into account.
Deliverables:
Measured Site Plan
Programming Document
Surveyor has been hired
Schematic Design - SD
With the research complete, understanding the specifics of your property, and the programming document in hand, we begin designing your project. We typically start with exploring floor plans, and developing a site plan to talk through how the ADU will sit on your property, and how the interior spaces will be organized. We typically present a few options and have a working meeting where we talk through the pros and cons of each option and sketch together to narrow in on a preferred choice.
After this first SD meeting, we refine the site plan and floor plans based on your feedback so it’s the right solution for you and your property. We have a second meeting to go over the refined floor plans and begin talking about the 3D views of the project and define the overall look and feel. This includes talking about elevations of each side of the ADU and sections through the spaces to show vertical relationships. In the meeting we will discuss the functionality, flow, style, and other aspects of the project that could affect the details and costs. This will be another working meeting where we will sketch together to refine our design ideas to best address your taste, needs, and budget.
Deliverables:
Schematic site plan, floor plans, building elevations, building section
3D views as needed to describe the design intent
Construction Documents - CD
With the overall form, layout, look and feel of your project now defined, we begin the process of documenting the design to get it ready for both permitting and construction. We will gather and/or create all the documents needed to acquire permits and get an accurate bid from a general contractor (GC). We’ll also coordinate the necessary engineers and other consultants and combine their work with ours. This is the phase where we finalize all of the details like finishes, fixtures, and equipment to match your preferences and budget.
During this phase, your designer will create a dimensioned site plan, demolition plans, floor plans, cross-sections, elevations, construction details, and finish schedules. They will also coordinate with any sub-consultants needed to complete the work like structural engineers or other experts. At the conclusion of the drawings your contractor will provide an updated construction bid based on the final construction documents.
Deliverables:
Dimensioned site plan, floor plans, reflected ceiling plan, building elevations, building sections, interior elevations, enlarged floor plans, assemblies and construction details.
Door, window, and finish schedules
Finishes, Fixtures, and Equipment
Permitting
At this point the design and documentation work is complete. Before we can break ground and start construction we need to get permission by the local building department. Unfortunately, each town, city, county, or state, has their own rules and regulations when it comes to permitting a new building, even small ones like ADUs. During this phase we will work with the local officials to fill out all of the paperwork and supply all of the drawings and other information needed for them to review the design and ultimately approve the project. Typically this includes a few rounds of questions and revisions requested by the reviewers as they compare the designs against all of the local laws. We will work with them to make sure they have everything they need and your project gets reviewed and approved in a timely manner.
It is important to note that each jurisdiction has their own rules and their own process. It is very difficult to predict exactly what they will request or what the timeline will be for the review process. We do our best to research the local requirements and plan accordingly but the actual review process is out of our control. There are also some additional reviews that could be required that can add time or fees. For instance, projects in historic districts require special review, which may mean more time and additional fees. We will identify this during our Pre-design research and inform you of any special circumstances that we will have to plan for.
Deliverables:
Approved building permit
Construction Drawing Set
Construction Administration - CA
During the construction phase we communicate with you and the contractor to answer questions or provide additional information to help realize the design intent. We check quality by periodically visiting the site to observe progress. We also are available as a resource to answer any questions the GC has or to clarify anything on the drawings. We can also help work through any challenges and review and approve any requested changes the GC proposes. Construction includes many steps and a lot of communication, and we are with you along the way in order to help facilitate a high quality finished project. We are you trusted advisors and advocates to make sure that the end result is in alignment with your values and expectations.
Deliverables:
Designer involvement throughout construction
Periodic site visits to observe construction progress
Project Closeout
Now that construction is complete there are a few final tasks to closeout your project. First, we want to celebrate the success of the project. We sponsor a small gathering at your ADU to acknowledge all of the hard work the entire project team has put into the effort. We invite the entire design team, clients, consultants, and contractors to gather and celebrate the achievement. We provide the refreshments if you are kind enough to offer the ADU space.
Finally, we schedule a professional photographer to come out and document the completed project. We want nice photos to use in our portfolio and marketing materials so we can show future clients the work we have done. We also want you to have copies of these to show your beautiful ADU to friends and family.
Additional Services
Although we find the process above can serve most ADU clients and deliver a great result, there are always situations that are unique or clients who have particular requests outside our standard scope of work. We offer a range of additional services that can be added depending on your needs and the specifics of your project.
Renderings
Physical model building
Additional design options
Landscape design
Historic Design Review
Sourcing materials
Furniture selection
Certifications (LEED, Passive House, Net Zero, Earth Advantage, etc.)
These are a few of the services that have been requested, although if there is some way we can add additional value to your project that isn’t included here, please reach out to us and lets talk through how we can help.
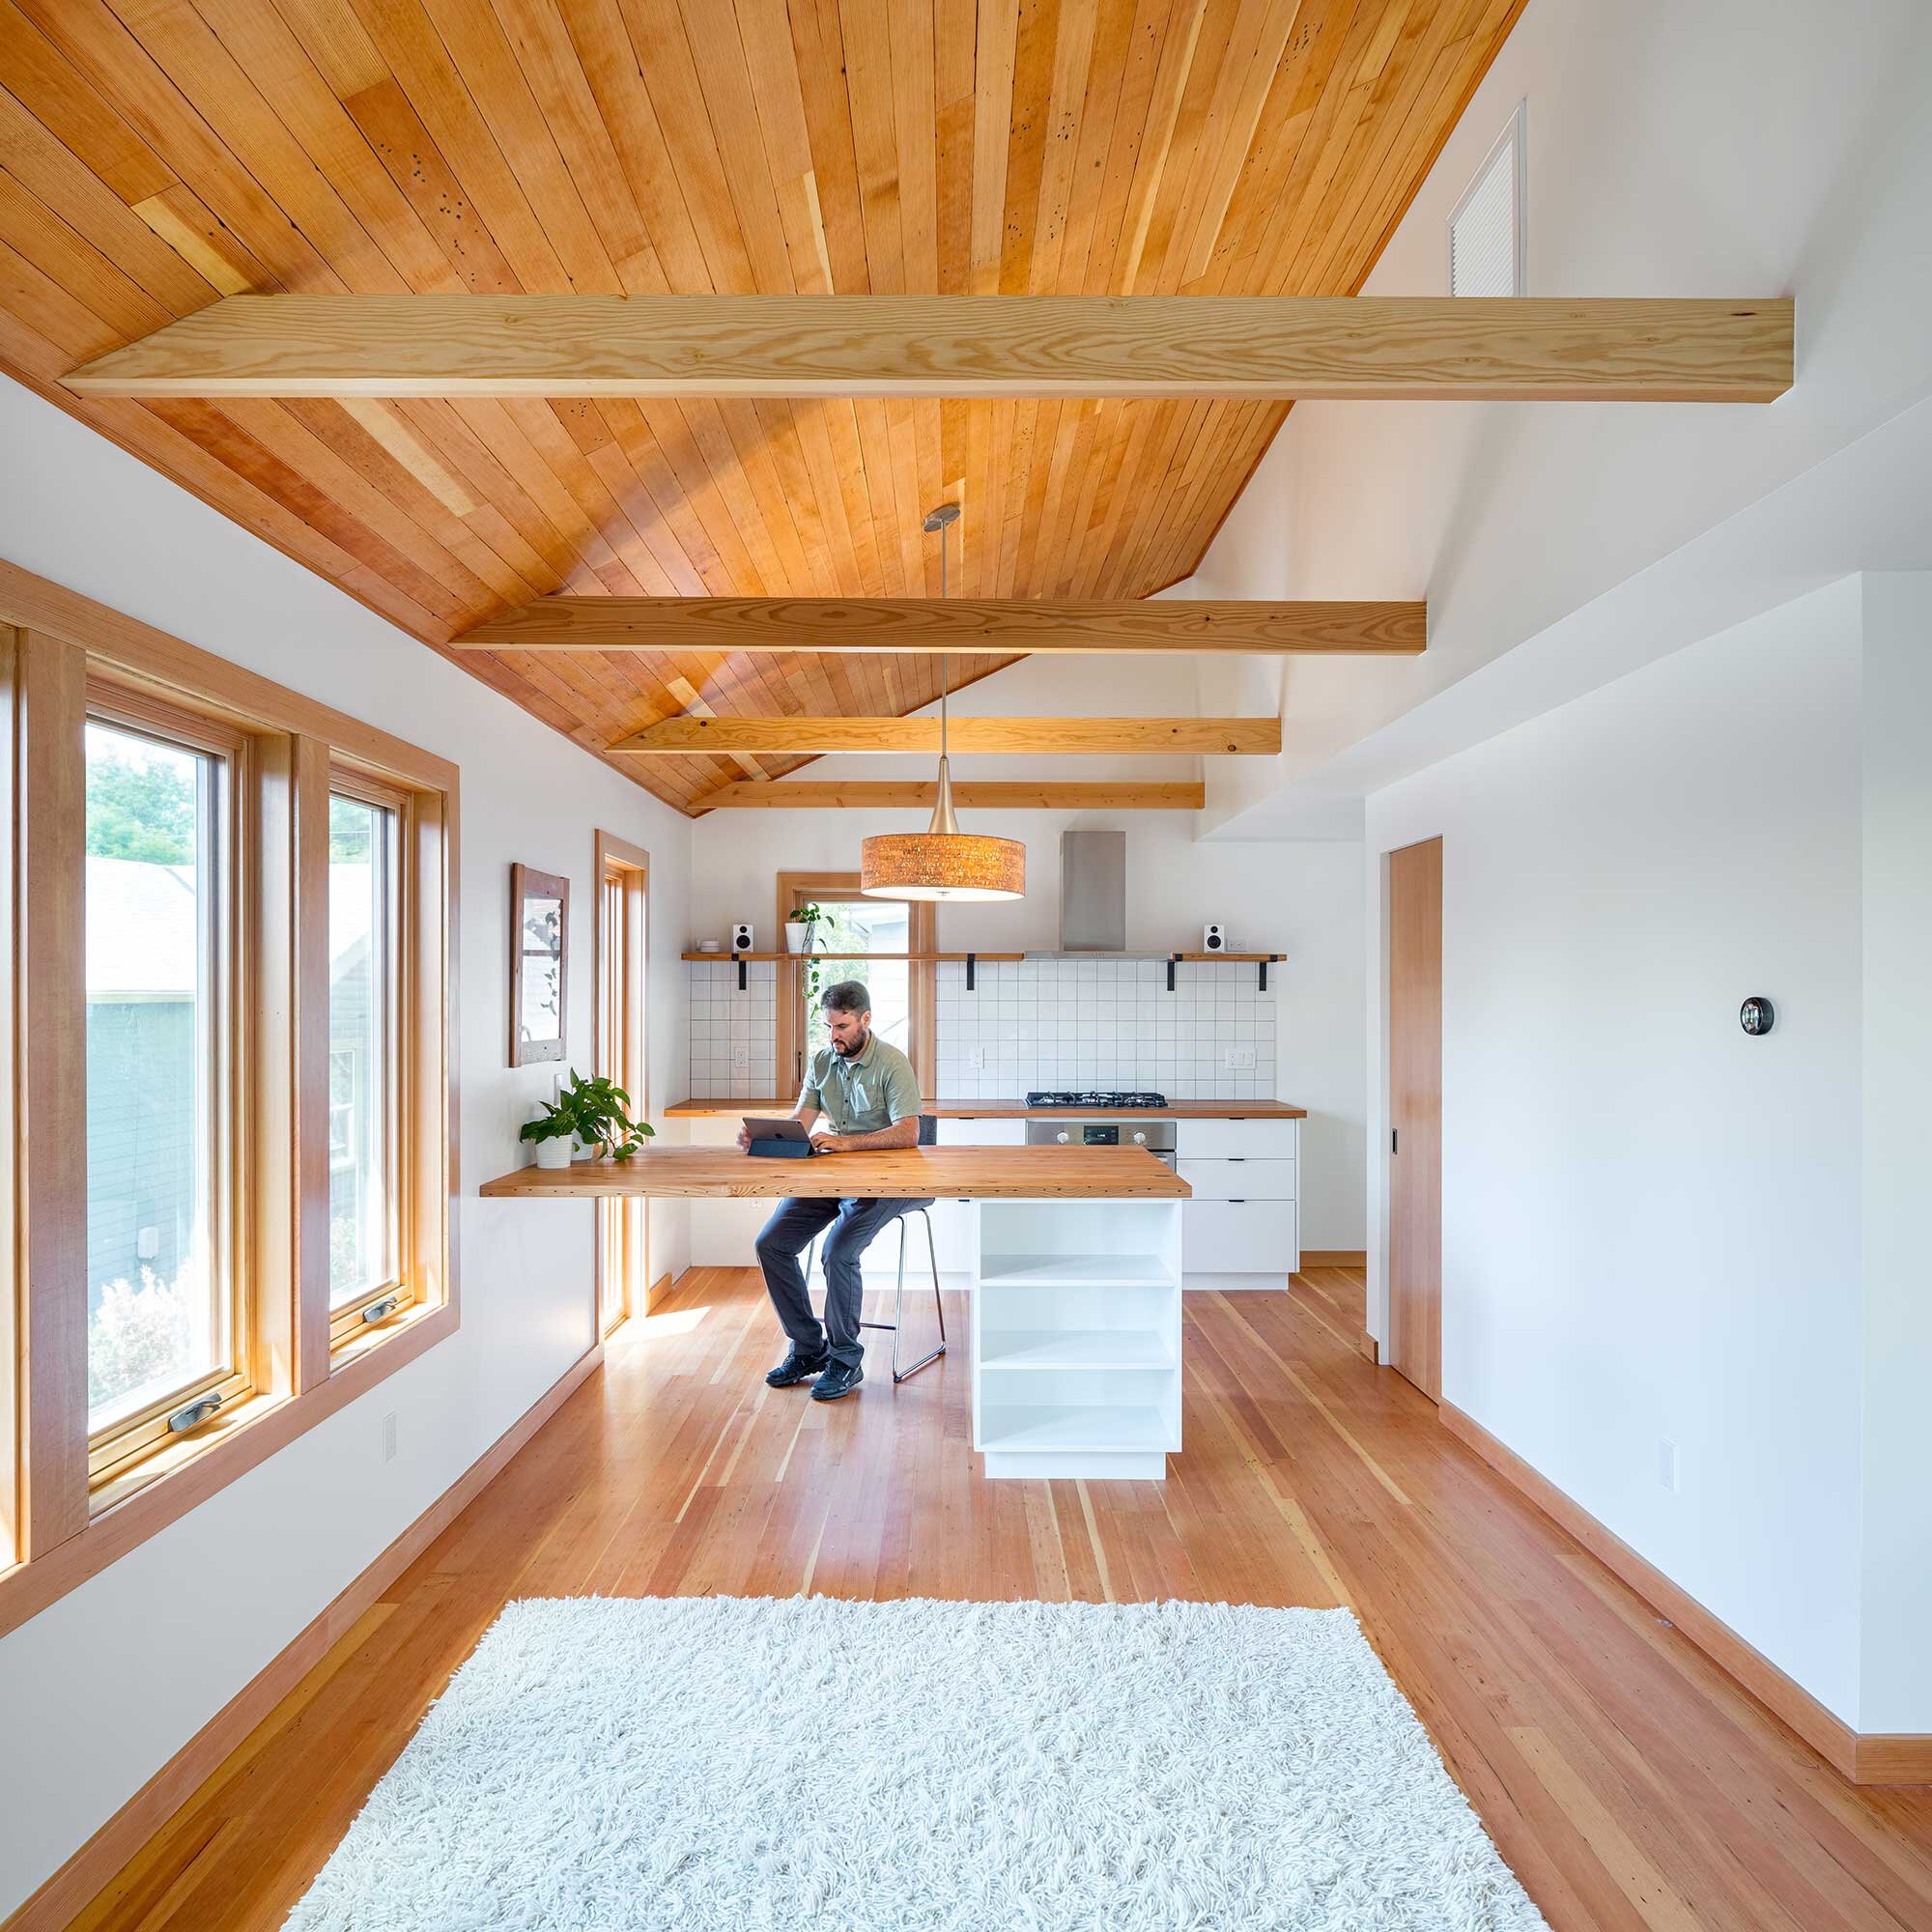
The interior of the Stilts ADU in Portland, Oregon, used reclaimed doug fir for the flooring, ceiling, trim, and counters, creating a unified, warm and inviting interior.
Definitions
Programming: programming involves research and decision making that helps the designer and owner establish the requirements and design criteria for the project. Programming can range broadly from identifying the project’s goals and objectives to particular elements, such as the precise size and characteristics of a space. It is an essential first step before the design phase and a critical communication tool throughout the project. A program guides participants from concept to construction documentation.
Survey: Site surveys are inspections of an area where work is proposed, to gather information for future design work. It typically determines the property lines, topography, location of existing structures and site features.
Section: A section drawing, or simply a section, shows a view of the design as if it was sliced vertically. Where a plan is a drawing looking down at the layout of a home, a section is a vertical drawing that shows the relationship of spaces vertically. We typically use these drawings to show ceiling heights, lofts, stairs, relationships between first and second levels, and other vertical design features.
Reflected Ceiling Plan: Where a plan shows what is happening on the floor, a reflected ceiling plan, or RCP for short, shows where the design elements on the ceiling would correspond to the floor plan. It is reflected because rather than looking up at the ceiling, the view is actually looking down at the floor but reflecting what is happening on the ceiling above.
Finishes: This is simple a fancy word for materials. Finishes are all the things we need to select during the design process like flooring, cabinet fronts, countertops, tile, siding, roofing, etc. We want to select and document all of the materials that will be attached to the building in order to get accurate cost estimates.
Fixtures: These are the all the accessories that are attached to the building - things like faucets, showerheads, lighting. fans, switches, outlets, smoke detectors, and others.
Assemblies: This is a drawing that show all of the layers and materials that make up a floor, wall, or roof. It is a detail drawing that is used to inform the contractor how to build, or assemble, those items.
Schedules: Typically we use schedules for all of the doors, windows, and rooms in a project to create a spreadsheet that adds additional information that can’t fit on the drawings themselves. For instance in a window schedule we will list every window in the project and describe the manufacturer, model, size, height, materials, color, operability, and other information. In a room finish schedule we list out all of the rooms in a project and then describe the materials that will go on each wall, floor, and ceiling.